
Painting is What We Do Best
We’ve pulled together a few paint-rolling tricks and tips that the pros use to paint fast, get great results and make clean-up a breeze. Painting is one of the least expensive ways to give that outdated room a needed makeover, so grab a roller and let’s get to work.
With some basic tools and know-how, most DIY painters can get the job done and avoid frustration. Granted, the quality of tools can make a big difference, and when it comes to edging along trim or the ceiling, a pro’s touch can go a long way. However, that’s a post for another day! We’ll focus on some simple paint rolling methods to quickly spread a smooth, even coat of paint on the wall.
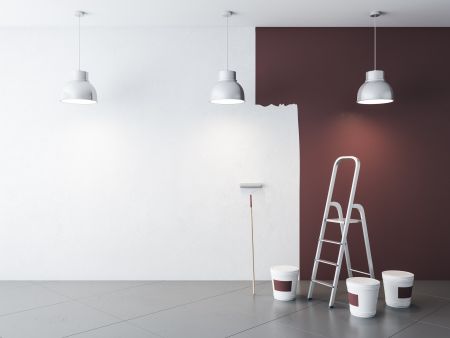
The first step is to gather the necessary tools:
- Paint (make sure you select the correct finish)
- Paint roller and sleeve (try a 1/2-in. nap wool blend sleeve)
- Paintbrush
- Painters tape (unless you happen to be a ProEdge Professional)
- Paint roller extension pole
- Paint pan
Smooth and Steady
The biggest mistake most beginner painters make is taking too long to apply the paint. Lay the paint on the wall with a sweeping stroke. Roll up and down, from floor to ceiling and move over about three-quarters of a roller width each time so you’re always slightly overlapping the previous stroke. Use a quality roller sleeve that holds a lot of paint to make the job easier.
Overlap Edges
After laying on the paint, quickly spread it out and repeat the laying-on process again. Repeat this process until you’re comfortable with the technique and get a feel for how quickly the paint is drying. Start by sectioning the wall to cover an area about 3 or 4 feet wide. If you find the paint is drying slowly, you can cover an entire wall before smoothing it off.
Also, keep in mind that it is critical to always keep a wet edge. This means working fast enough so you’re always lapping newly applied paint onto still-wet paint. If you stop for a break in the middle of a wall, for example, you’ll likely end up with an unsightly lap mark where the sections meet.
Watch Out for Lumps
Getting the occasional lump in your paint is sometimes inevitable. Be careful to keep the roller away from the floor where it can pick up bits of debris that get spread against the wall. Keep a wet rag nearby and pick lumps off the wall as you go. If you have bits of drying paint on the edge of your pan, you’ll want to clean it out before adding more paint.
Easy Cleanup
A quality roller sleeve can be reused many times if you take good care of it. When your paint job is complete or you stop for the day, wash the sleeve with soap and water. If you’re just taking a break longer than a couple of minutes, you can simply wrap the roller in plastic so air doesn’t get in and dry the paint. Using a large slop sink is ideal for washing out a roller and paint pan. Rinse until the water runs clear and add soap to get any remaining paint out of the pan or roller sleeve. Good as new!
Hopefully, these paint rolling tips will help in your next project. Let us know if you have questions, and follow along for more tips on taping, “mudding” drywall, edging, and other techniques that will have you painting like a pro in no time!